Healing Sound Baths in Grand Rapids
If you’re searching for sound healing or sound baths in Grand Rapids, you’re likely looking for more than relaxation. You’re looking for relief. From stress, from tension, from constant mental noise, from a body that feels like it never fully powers down.
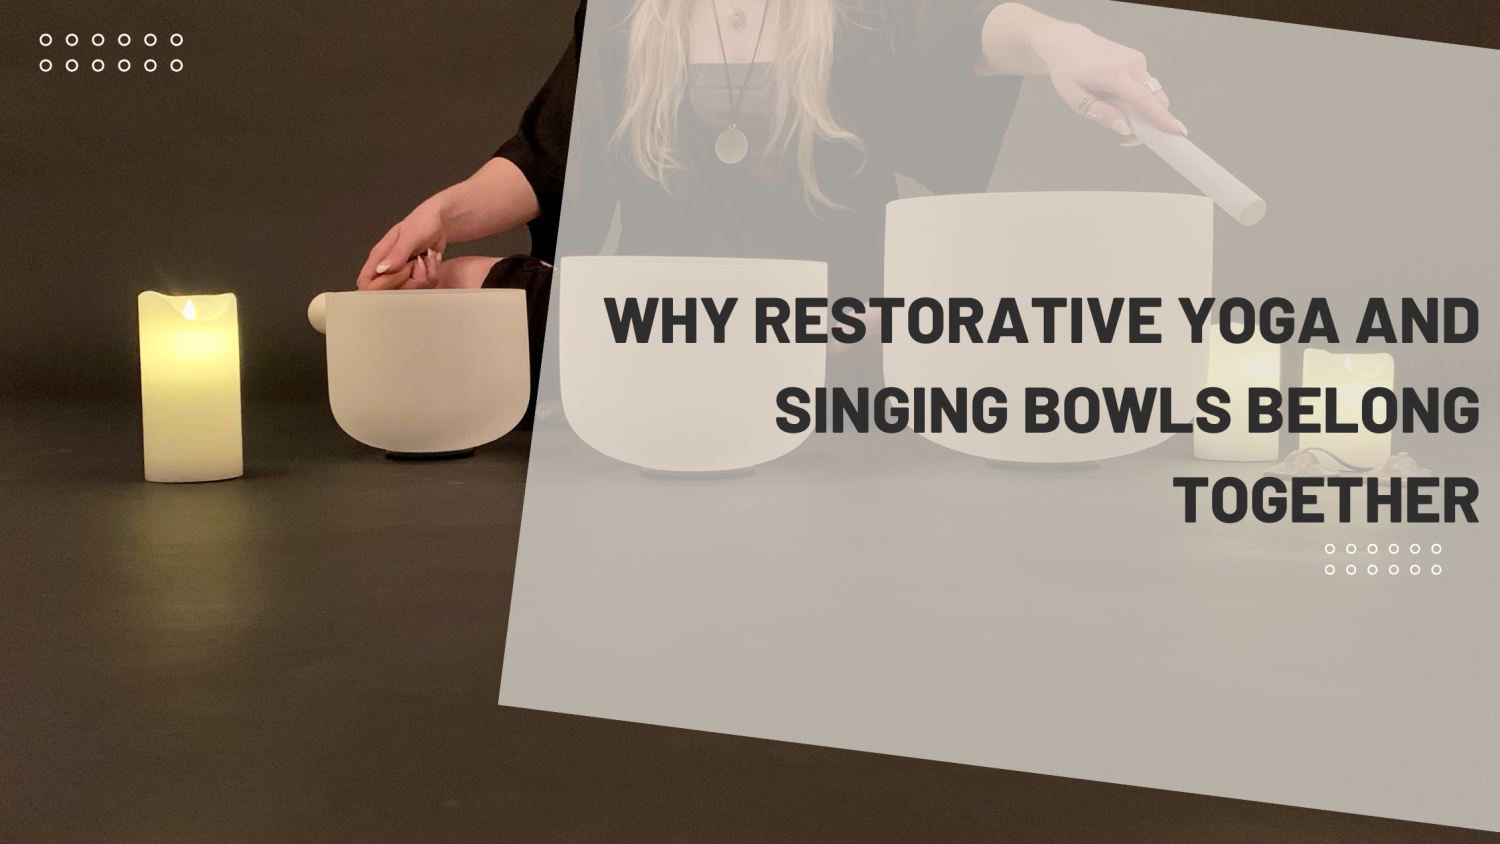
At our studio, sound baths are not a standalone experience. We intentionally pair singing bowls with restorative yoga to create an environment where the body can actually shift into repair.
This is not about performance, flexibility, or pushing deeper. It’s about creating the right conditions for the nervous system to downshift.
Why We Combine Restorative Yoga With Sound Healing
Restorative yoga and sound healing work best together because they address two different systems at the same time.
Restorative yoga supports the physical body. The use of props allows muscles to fully release, joints to soften, and the spine to settle into neutral. When the body is physically supported, it no longer needs to brace or protect.
This physical ease is essential. A nervous system cannot fully relax if the body still feels like it has to hold itself together.
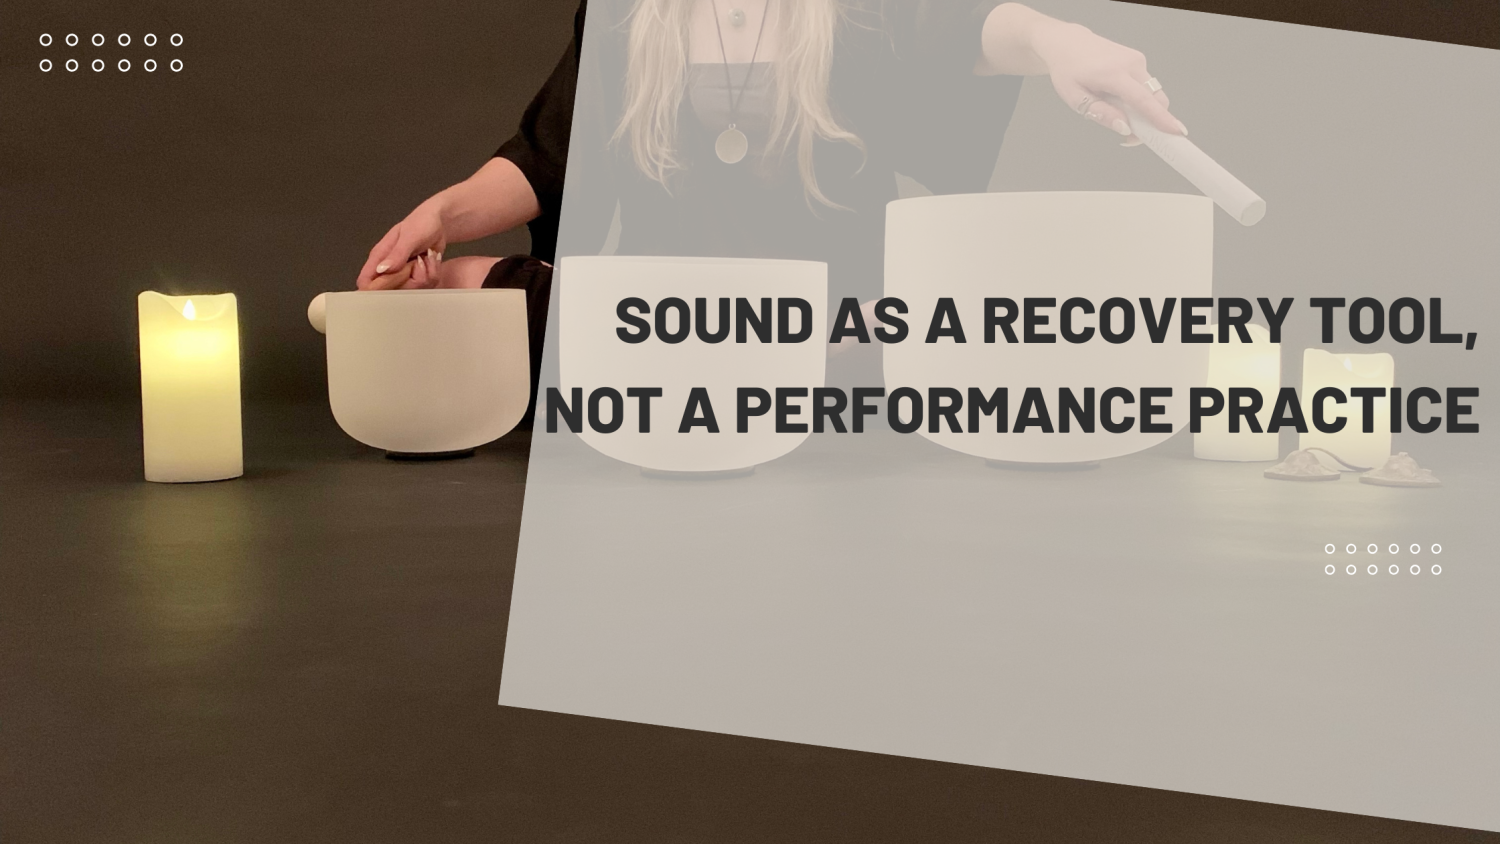
Singing bowls work through sound frequency and vibration. Sound enters through the ears and travels directly to the brainstem and vagus nerve pathways. Slow, sustained tones signal safety and encourage the nervous system to move out of alert mode.
Together, restorative yoga and sound baths send a clear, layered message to the body: it is safe to rest.
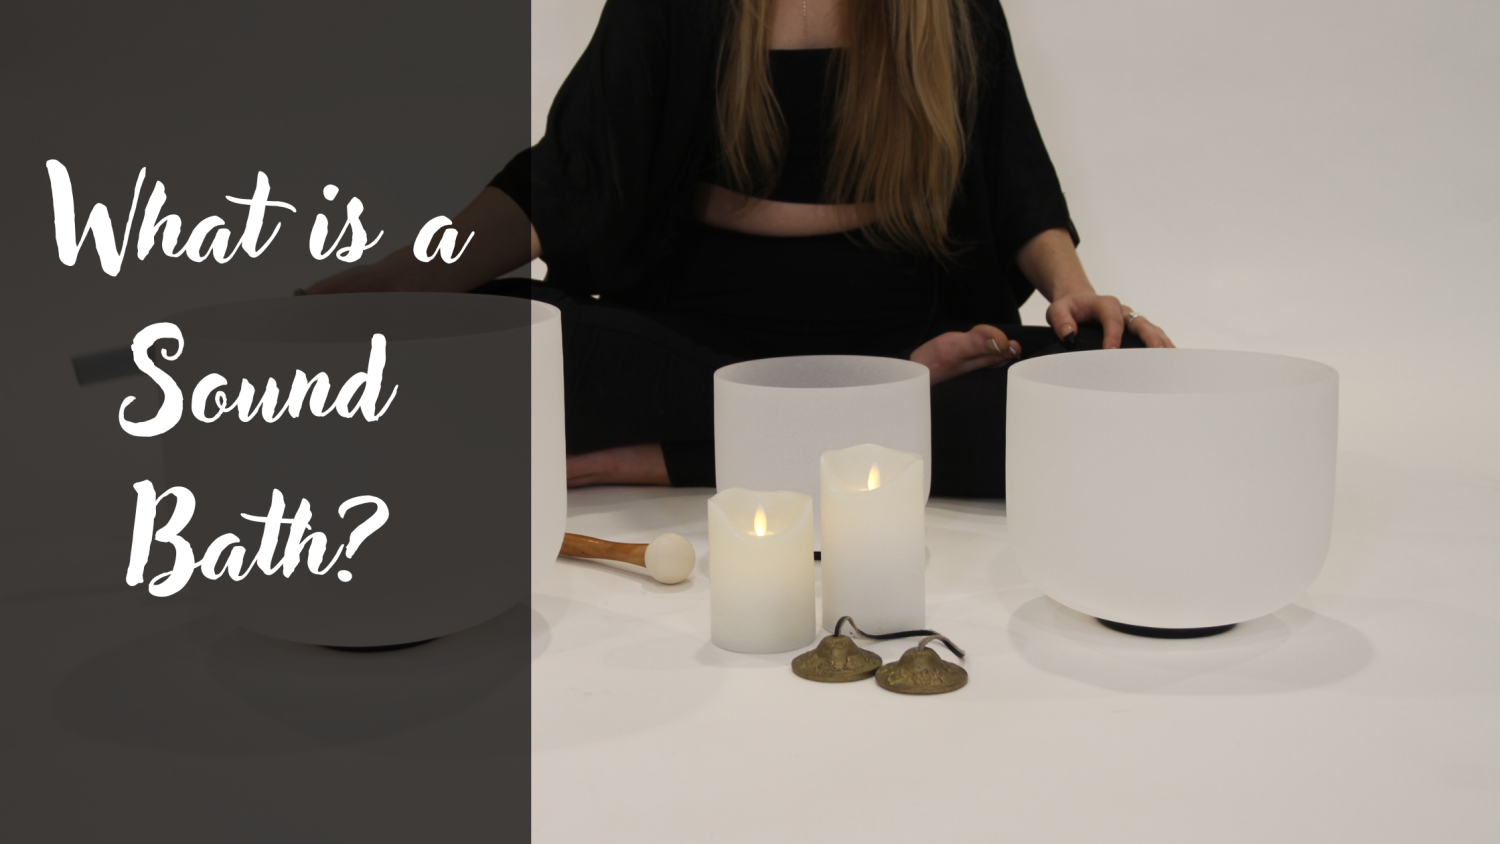
How Sound Baths Support Nervous System Regulation
Sound healing is not something you do. It’s something your body receives.
During a sound bath, layers of frequency from singing bowls create steady, predictable waves of vibration. The nervous system naturally entrains to rhythm. Breathing slows. Muscle tone softens. Mental chatter quiets.
Many people notice:
• a deep sense of calm
• a feeling of heaviness or grounding
• emotional release
• improved sleep later that night
• reduced tension in the neck, jaw, and back
These responses are not random. They reflect the nervous system shifting from a state of vigilance into a state of regulation.
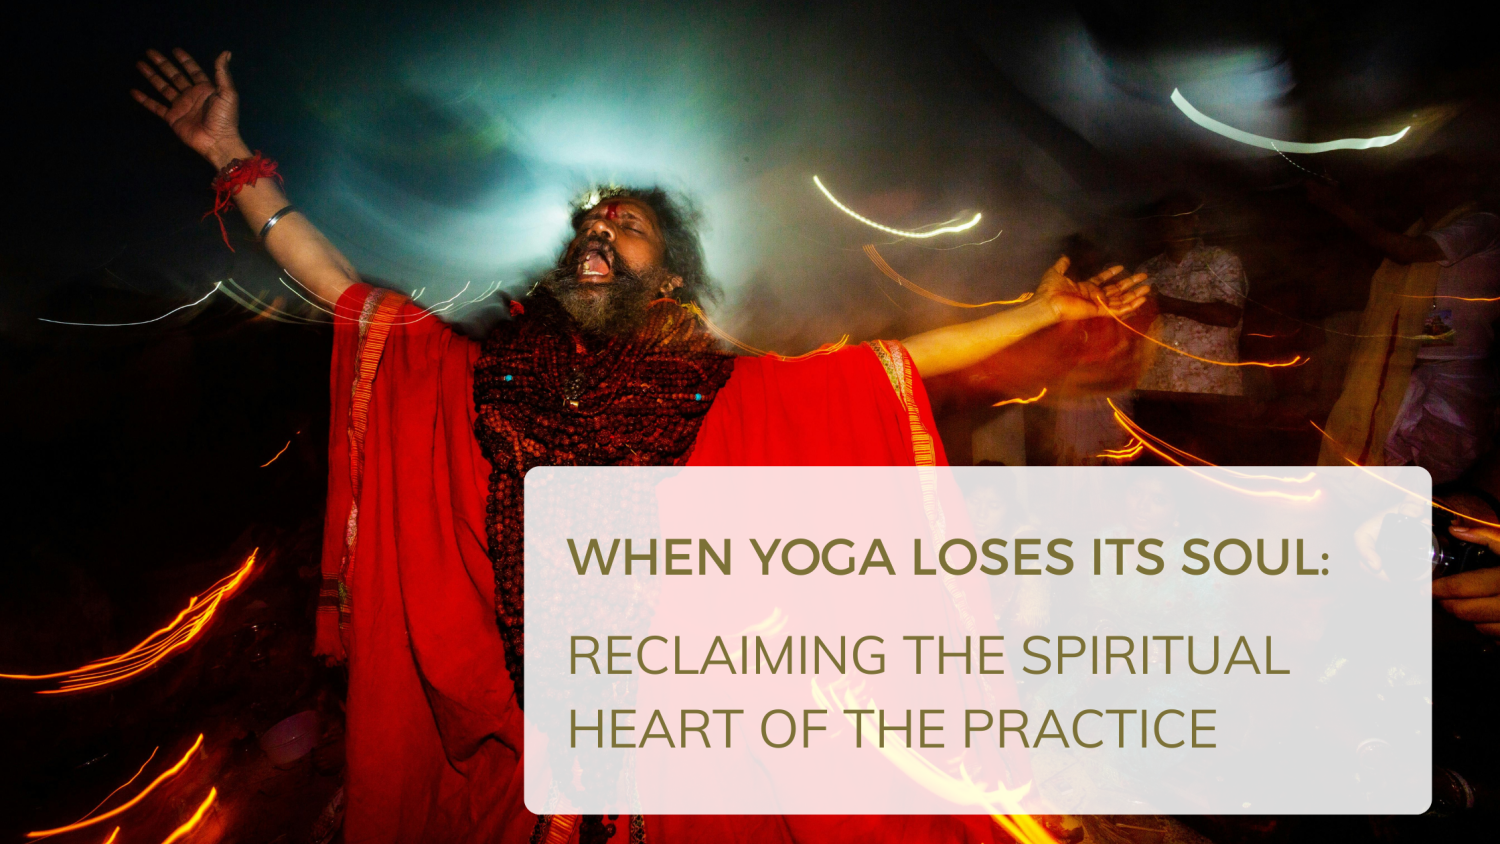
Why Stillness Matters for Healing
In daily life, even rest often comes with stimulation. Screens, noise, conversation, and mental planning keep the system active.
Restorative yoga creates intentional stillness. There is no stretching to the edge. No effort to maintain shape. No demand on the breath.
This stillness lowers the body’s baseline level of activation. When singing bowls are added, the nervous system receives a steady sensory input that reinforces that state of rest.
Healing does not happen when the body is braced. It happens when the system feels safe enough to let go.
What to Expect From a Healing Sound Bath in Grand Rapids
Our sound baths are designed to be accessible, grounded, and supportive.
You will be guided into restorative yoga poses using props to fully support the body. Once you’re settled, singing bowls are played throughout the space, allowing sound and vibration to move through the body while you remain completely still.
There is nothing to focus on and nothing to achieve.
Some sessions feel deeply profound. Others feel subtle. Both are effective. Sound healing works cumulatively, and its benefits often continue well after the class ends.
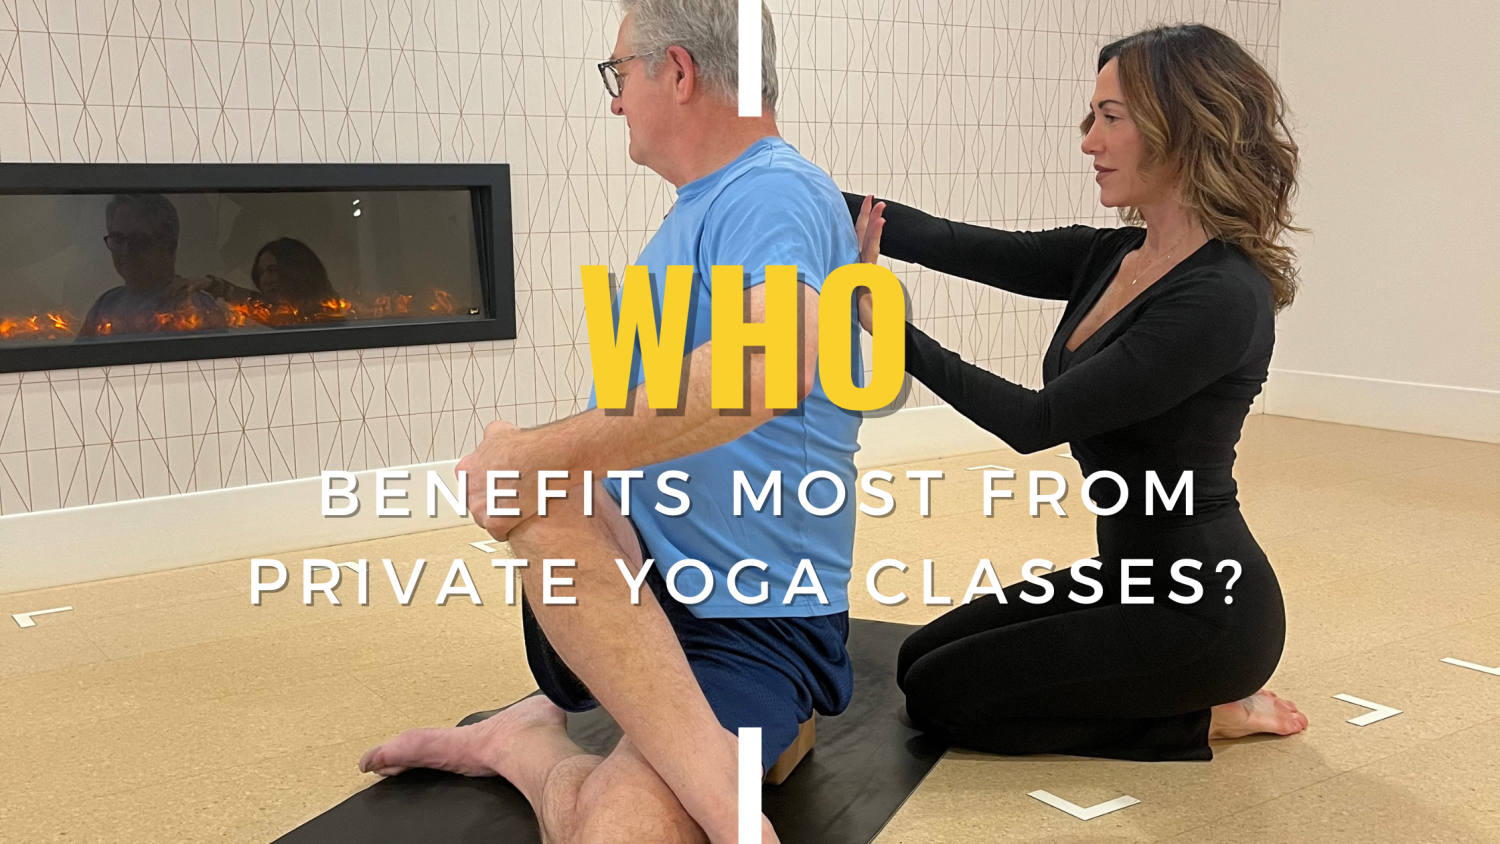
Who Sound Baths Are For
Sound baths are especially beneficial if you:
• feel chronically stressed or overstimulated
• have trouble sleeping or fully relaxing
• experience tension that doesn’t respond to stretching
• want a recovery practice that doesn’t require effort
• are curious about sound healing but want a grounded approach
You do not need experience with yoga or meditation to participate.
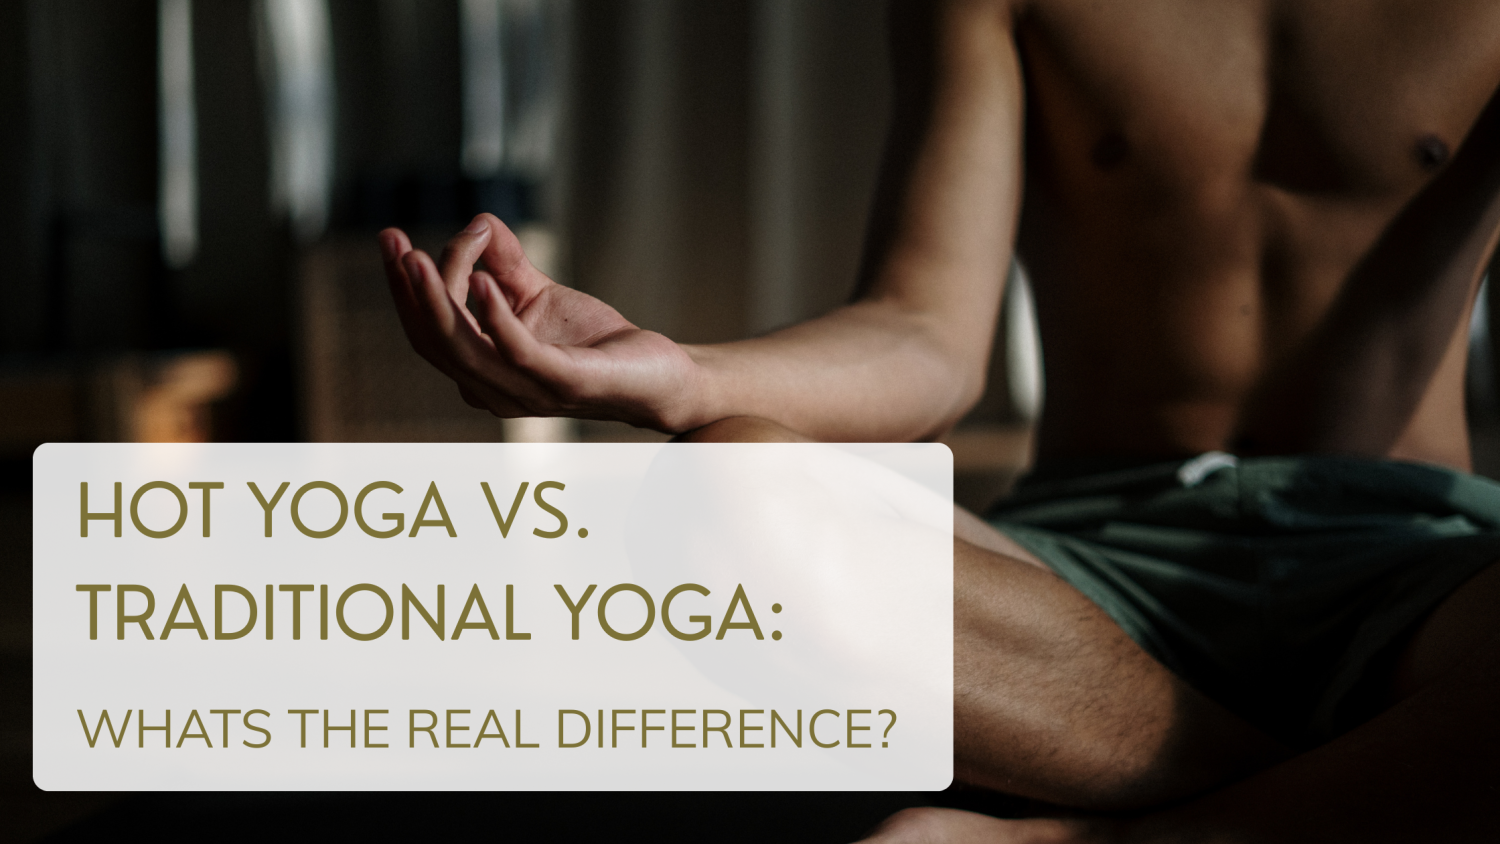
Sound Healing as Part of a Balanced Wellness Practice
We view sound baths as part of a complete approach to wellness, alongside strength, cardio, flexibility, and recovery massage.
Sound healing supports recovery by helping the nervous system reset. When the nervous system is regulated, everything else functions more efficiently, from movement and breath to digestion and sleep.
In a fast-paced world, practices that teach the body how to rest are not a luxury. They are essential.
If you’re looking for healing sound baths in Grand Rapids that are intentional, restorative, and rooted in nervous system support, this practice was created for you.