Yoga Teacher Training in Grand Rapids
Choosing where to complete your first 200-hour yoga teacher training in Grand Rapids is one of the most meaningful decisions you’ll make in your yoga journey. This isn’t just about learning postures or earning a certificate. It’s about where you deepen your awareness, build integrity in your practice, and learn how to live yoga beyond the mat.
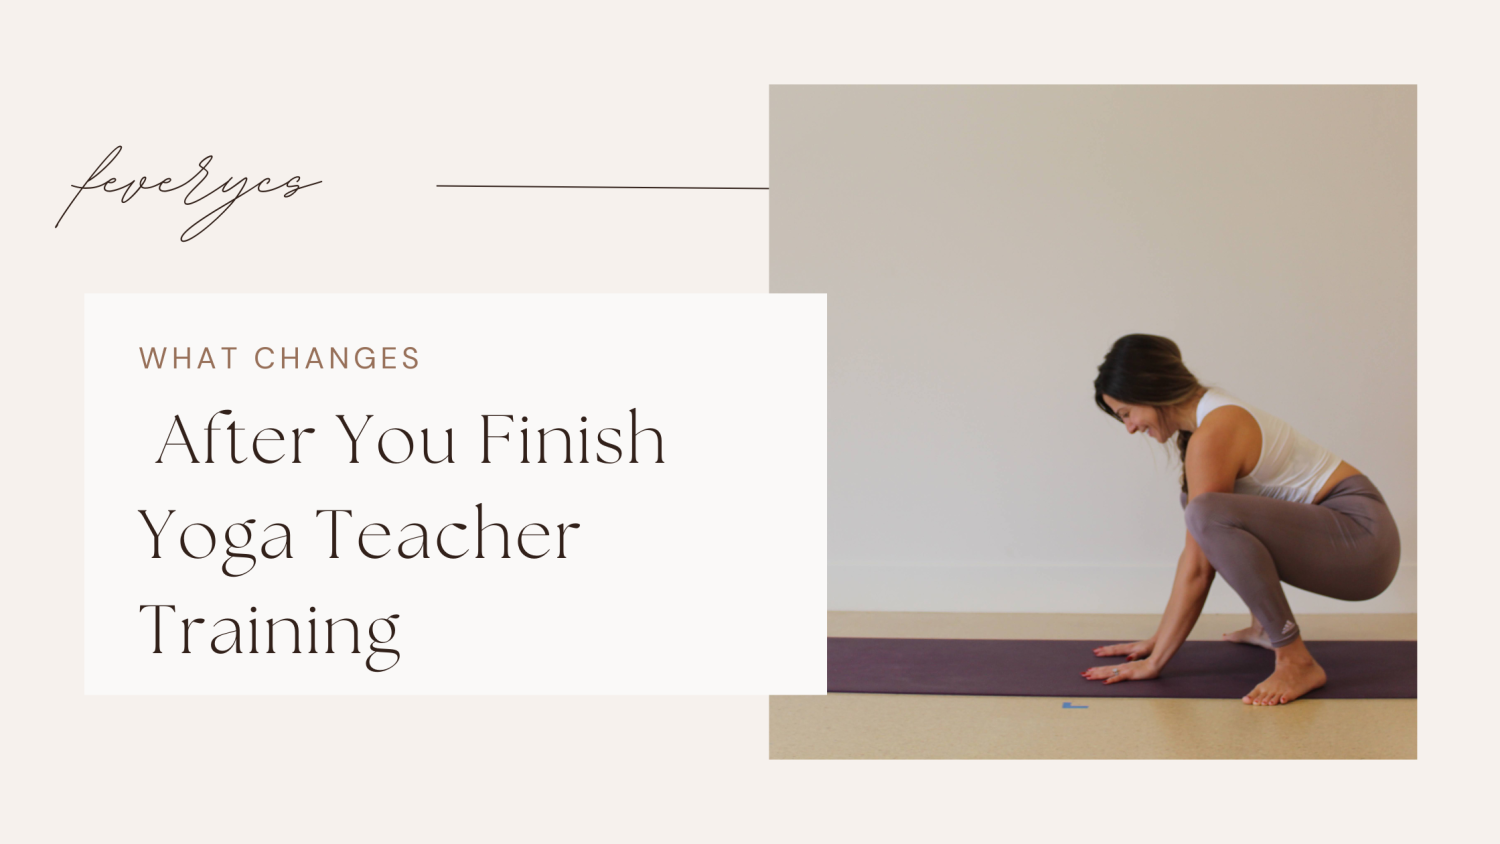
Yoga Teacher Training will Transform You
At Fever Yoga Cycle Strength, yoga teacher training is not designed to be rushed or surface-level. It is intentionally structured to guide you through long periods of meditation, reflection, and embodied learning. You’re not only developing the skills to teach — you’re reshaping how you relate to breath, stillness, and your own inner landscape.
Classical Yoga Theory and Vinyasa Yoga Theory
The program unfolds in two distinct phases. The first half of the training is rooted in classical yoga theory, where you study alignment, structural awareness, and the integrity of each posture. You build a deep understanding of how and why poses work so you can teach safely and with confidence. The second half of the training evolves into vinyasa, where you begin to understand sequencing, the seamless blending of postures, rhythm, and cadence. This is where your teaching voice starts to take shape as you learn how to guide students through fluid, intelligent movement.
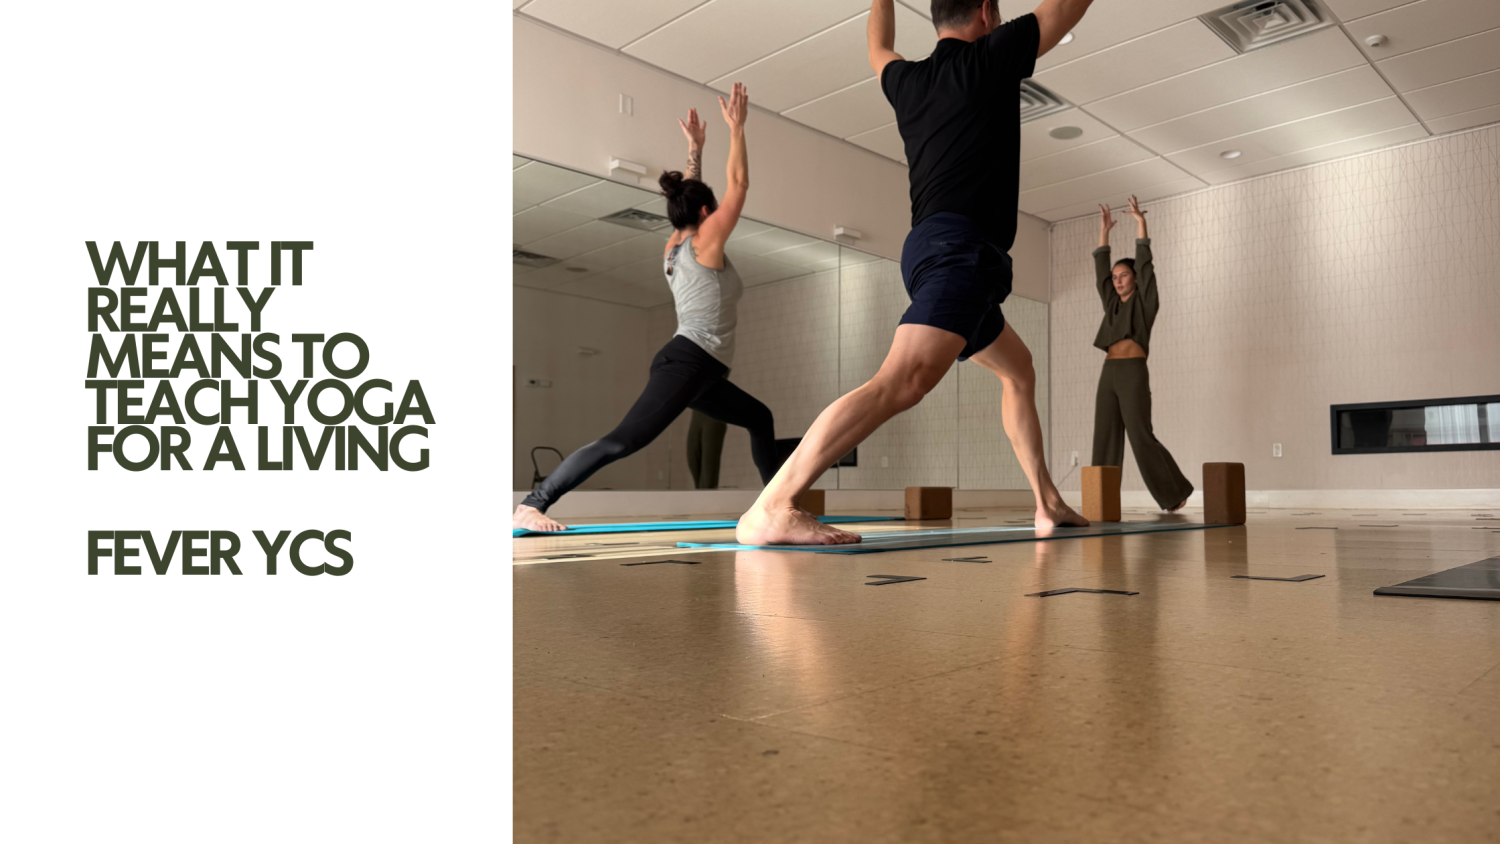
Fuse Knowledge with Embodied Presence
Our Yoga Alliance accredited yoga teacher training program blends anatomy, sequencing, philosophy, and energetic awareness, but the real foundation of the training is presence. We believe that teaching yoga requires emotional intelligence and nervous system regulation just as much as physical understanding.
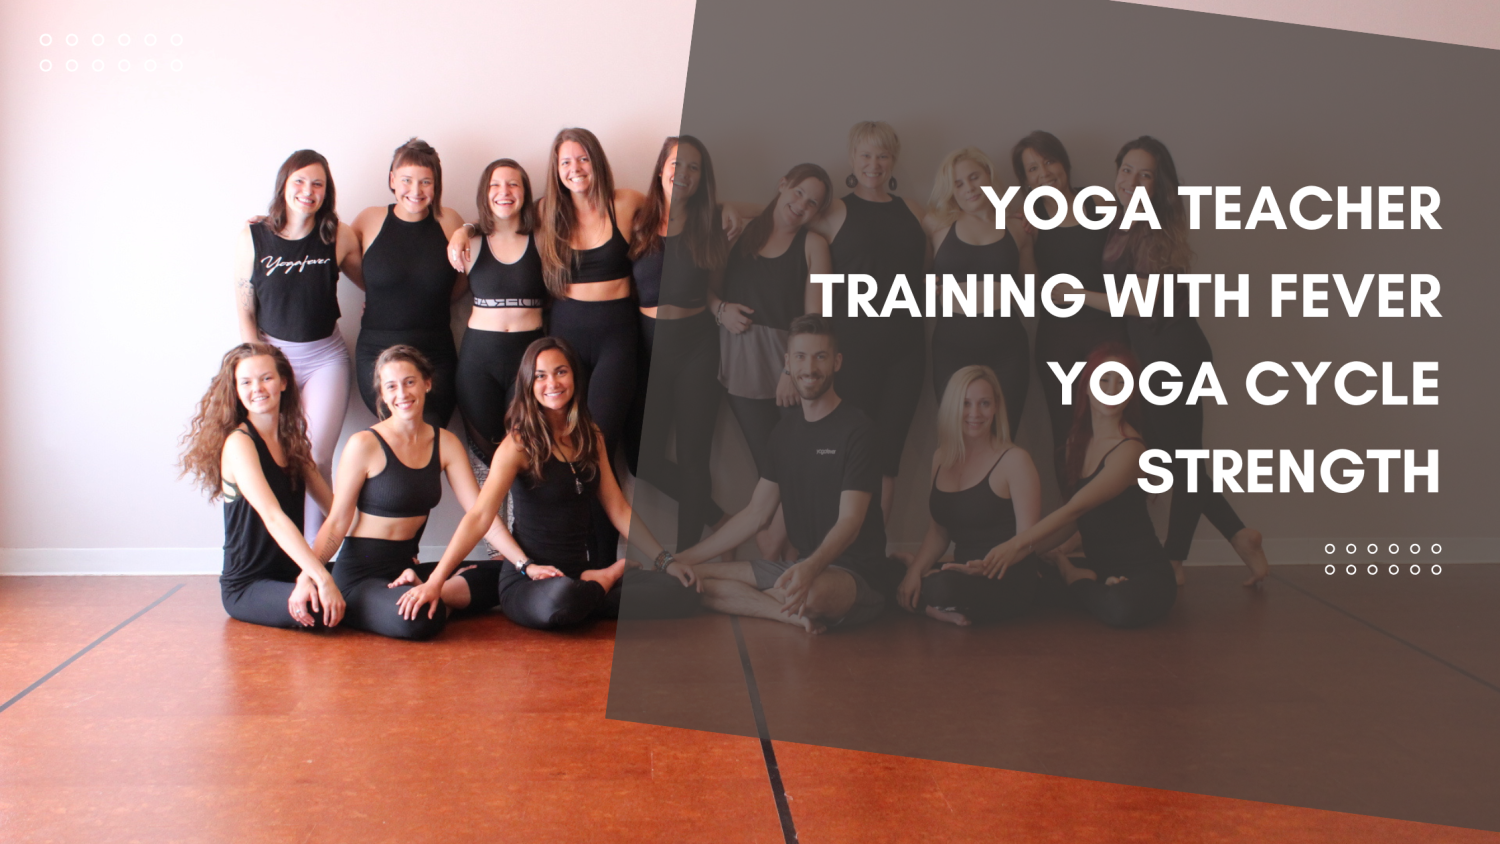
Community is at the Heart
Fever’s training is rooted in community. Trainees receive discounted studio membership so you can continue practicing alongside what you’re studying. Graduates consistently share that the experience feels transformational — not because it is intense, but because it creates space to pause, integrate, and observe yourself in new ways.
Guaranteed Support Long After Training Ends
After certification, the support doesn’t disappear. Fever offers mentorship and apprenticeship opportunities so you can transition from student to teacher with confidence. This is not a program that sends you out alone with a piece of paper — it’s a pathway that helps you build your voice as a teacher and your trust in your ability to hold space.
About Your Your Yoga Teacher Trainer
Shannon Austin ERYT YACEP (LMT) teaches with a rare blend of technical precision and intuitive presence, holding students to clear, intelligent alignment while guiding them into a deeper relationship with their own internal awareness. Her classes are known for strong shape-building, layered cueing, and methodical sequencing that develops integrity of form before fluidity of movement. You will learn how to see bodies clearly, coach structural alignment with confidence, and then weave those shapes into seamless, rhythmic flows that feel intentional rather than rushed. This is not choreography for performance — it is disciplined embodiment that teaches students how to inhabit each posture with strength, clarity, and meaning.
Be Prepared to Dive Deep
This yoga teacher training is not for everyone. It asks you to be present with yourself, to slow down, and to engage in the internal work that yoga invites. But if you are willing to commit to that process, your first 200-hour yoga teacher training at Fever YCS will become more than an education. It will become a foundation for how you live your practice every day.
If you’re ready to commit apply here -> Yoga Teacher Training Application